60 Minute Shed Makeover
Published: 13/05/2015

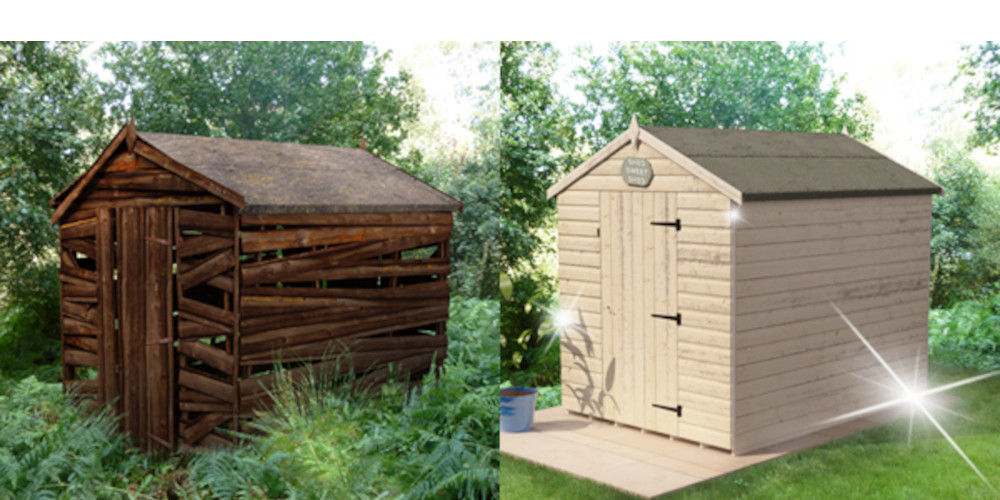
Now the weather is improving, it’s the perfect time of year to get the garden looking its very best and that includes the garden shed! We've pulled together a simple guide on how you can transform your shed into a natural beauty in just one hour.
Pre Makeover
Before getting started on your makeover it’s vital to ensure that your shed is in good shape…
- Has your shed been treated and painted in the last year? If no then ensure this is done beforehand.
- Any damages? Check all around your shed for any damages, including the felt. If anything needs replacing then this should be rectified immediately.
What you will need for your 60 minute makeover:
- Paint (in contrast to your current shed colour) and painting tools
- Newspaper/Masking Tape (Decorators Tape)
- Anything new to add to your shed – This is completely up to you and how you use your shed. (Flowers and plants can brighten any shed and garden)
- General Cleaning Equipment.
- The perfect shed - we've used the Tiger Shiplap Apex Shed as it's one of our most popular products.
Step One – Clear out and clean up – Estimated Time: 20 minutes
OK, so your shed is treated, painted and in outstanding health and now it’s time for that big clear out. Over time we all tend to hoard and store things that we don’t actually need or want and the shed is a popular place to do that. Take some time to go through what’s in your shed and don’t be afraid to chuck out what you really don’t need! After having a good sort out, place everything outside the shed and then give the inside of the shed a thorough clean and sweep.
Step Two – Paint Job – Estimated time: 20 minutes
Your shed should now be a clean palette to work with; in good condition, empty and spotless. Perfect. Now it’s time to use your chosen paint, which should hopefully contrast nicely with your current shed colour. Paint the window framing, bargeboards, corner strips and finials. Make sure before doing this that you protect any glass or Perspex with newspaper or masking tape. After completing your paint job, step back and take in your already fantastic shed. But we’re not done yet….
Step Three – Organise – Estimated Time: 10 minutes
It’s time to get everything back into your shed!! Take care not to knock any areas of fresh paint that might still be wet. Make sure that everything that goes back in is clean and has a purpose. For example, if you store gardening tools in your shed then use this time to give them a quick spruce and clean and then reorganise. After you’ve done this, your shed should now be looking neat and extremely clean!
Step Four – Add some style – Estimated Time: 10 minutes
This is the really fun part… add in all your new purchases! It’s your decision what you decide to buy to style up your new shed makeover as it depends what you use your shed for. If you use your shed for storage then a tool organiser could be a great idea to neatly hang everything but if you use your shed for leisure then why not try some fancy wall art or a new armchair. To instantly cheer up your shed and garden add some beautiful hanging flowers or place stunning plants outside your shed for an instant lift.
Take it in….
Your once normal garden shed has now transformed into a beautiful space for whatever your needs are and just in time for summer! If you're looking for more creative ways to decorate your shed then have a look at how to transform your shed into a Beach Hut for a fresh summer idea. Share your 60 minute makeovers with us @tigersheds


