How to Fit and Seal Shed Windows
Published: 25/04/2019

Windows are an important part of any garden building. They allow natural light as well as a beautiful view of your surroundings. It's crucial to make sure that you install the windows properly. If windows have not been correctly fitted and sealed, your shed or summerhouse may not be completely weatherproof. As a result, your shed may be prone to leaks! You should use a high quality, water-resistant sealant for the windows. You can choose between silicone, mastic or putty. Also, you can choose to reinforce the panes with beading. We would recommend to also use beading, as this adds a more attractive finish to your building. We provide more general help on maintaining a waterproof shed elsewhere (follow the link). But the guide below is all about how to fit and seal the windows of your garden shed.
Tools and Fixings Needed:
Panel pins Hammer Nails Sealant Beading
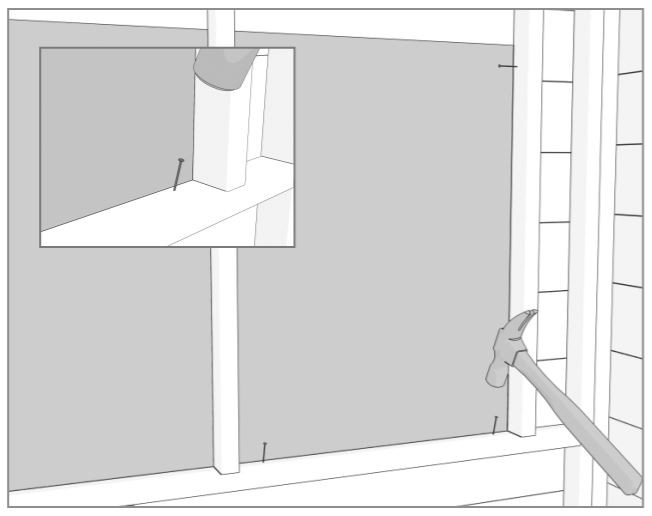
Step 1: Pin into Position
Use the panel pins to pin the windows into position. These temporarily hold the windows in place, and are not intended as a permanent fix. If you have paid for installation, the installers will pin - but not seal - your windows for you. Make sure you finish fitting the windows following the steps below. 
Tiger Tip: Be careful using a hammer and nails around windows - carelessness causes scratches! We recommend that you leave the protective plastic on the windows until fitted. You could also use a thin piece of cardboard to prevent direct contact of the hammer with the panes.
Step 2: Seal the Deal
Using a high quality sealant, you should now seal the windows - inside and out. It is important that the framing and glazing are both completely dry before you use your silicone, mastic or putty. Any moisture may prevent the sealant from being fully effective, and could reduce its water-resistance. 
Watch our “How to Seal Shed Windows” video, where we’ll show you the steps—from prepping the frames to applying the perfect seal—to keep your shed cosy and weatherproof all year round!
Step 3: Install the Beading
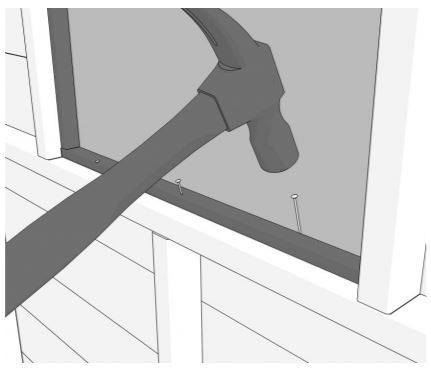
Beading adds extra strength and support to your windows, so we recommend it as a finishing touch. Using your hammer and nails, carefully secure the beading to the framing around the window.
Tiger Tip: Don't forget to treat the beading when you treat your building! Now that you have your windows properly sealed, you can sit back, relax and enjoy the view! If you're yet to buy a shed, don't forget that you can purchase our Tiger Glazing Kit as an additional extra on our website. It comes complete with beading and a silicone and gun set so you'll be all set when your building arrives!


