How to Build a Shed Base on Uneven Ground
Published: 17/05/2021
As we say in a previous post about building a concrete shed base, it’s never ideal to build your base on any kind of slope. But you may not have a choice. After all, very few people’s gardens are perfectly level – some are downright hilly!
Do shed bases need to be perfectly level?
Yes – without a level base, your shed won’t last long (see below). So while the ground beneath the base can be sloped, the base itself must be perfectly level. 
Sounds hard right? But all is not lost. Here’s how you do it…
How to build a level base
In the case of slopes with low gradients, you may not need to use concrete blocks at all - as long as you can make the ground level by removing and relaying soil, it may not be necessary. But if this isn't possible, the easiest and most reliable way to build a shed base on uneven ground is to use concrete foundation blocks. Some prefer to use gravel, hardcore or even plastic tiles, but we prefer concrete blocks. Here’s why…
Why use concrete foundation blocks on uneven ground?

- Available in different sizes – flexible
- Can be cut to size with carbide-tipped circular saw
- You can double them up to create a wider base and support structure
- You can stack them up to compensate for uneven slopes
- Robust – add strength to the shed structure
In addition to the benefits of concrete blocks for building on ground that isn’t level, concrete foundation blocks are also less expensive than concrete mix. Note: You must use concrete foundation blocks and not cinder blocks for this task. This is because cinder blocks cannot withstand the freeze-thaw cycle. So now we’ve shown you the benefits of using concrete blocks to help level uneven ground for a shed, let’s get started… Here’s what you’ll need:
- Concrete foundation blocks
- A shovel
- Tape measure
- Pegs and string
- Spirit level or set square
- Pressure-treated timber planks
- Hammer/rubber mallet
- Nails
Step 1: Remove grass, weeds and other vegetation
Remove grass and weeds, as well as trees and shrubs, from the area you’re building your shed. This will help prevent the build-up of moisture.
Step 2: Measure and mark out area
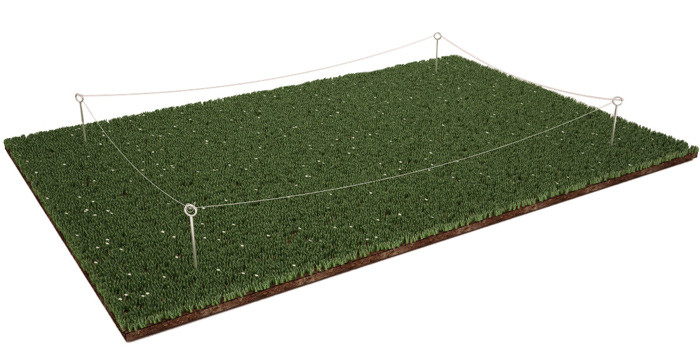
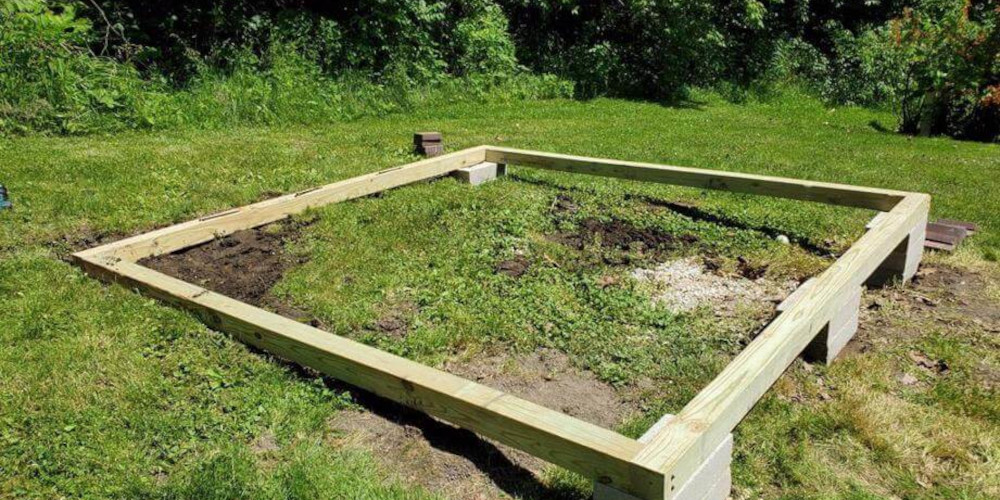
As we say elsewhere on the Tiger Sheds site, your base should be around 12-16 inches (30-40cm) larger on all sides than the outer dimensions of the shed. Assuming you know the dimensions of your base, use the tape measure, pegs and string to mark out the area.
Step 3: Level the ground as much as possible
Use your shovel to dig the top layer of the ground to make it as level as you can. Lay wooden planks across the soil to highlight the uneven in areas in the soil. Use your shovel to remove the excess soil from ‘peaks’ (areas that are too high) and/or re-lay in ‘troughs' (areas that are too low). Measure four rows of three concrete blocks to help distribute the weight of the base evenly.
Step 4: Add the weed membrane
To increase the life of the base, it’s important to lay down a weed membrane. As its name suggests, the membrane stops weeds growing through and around the shed base. In fact, this is so important that we advise that using two membranes – the first laying in one direction and the second laying the opposite way. This might sound like overkill, but it’ll stop weeds in their tracks and help ensure the shed can safely stay in place – and that you’re able to enjoy it – for many years to come. Use your spirit level or set square to ensure you have a level surface before you proceed.
Step 5: Nail the base to the timber planks
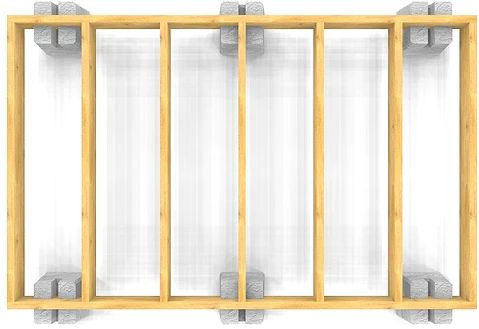
Now the ground is level, you can start adding blocks to construct the shed base. As you lay the base, nail it to the timber planks from one end to the other (using the rubber mallet) to help keep the base sturdy and ensure it stays in place.
Step 6: Fill the gaps with pea gravel
It’s important make sure the blocks will support the timber bearers at regular intervals, especially in the centre of the floor to avoid any sag. To achieve this, fill the spaces between the blocks with pea gravel to create a level pad. This provides some additional support, while also discouraging anything from nesting under the building. Now you're ready to construct the shed on top. So there you have it – laying a shed base on a slope or otherwise uneven ground is pretty simple. If you need any more advice on shed-related issues visit our Help section at Tigersheds.com.