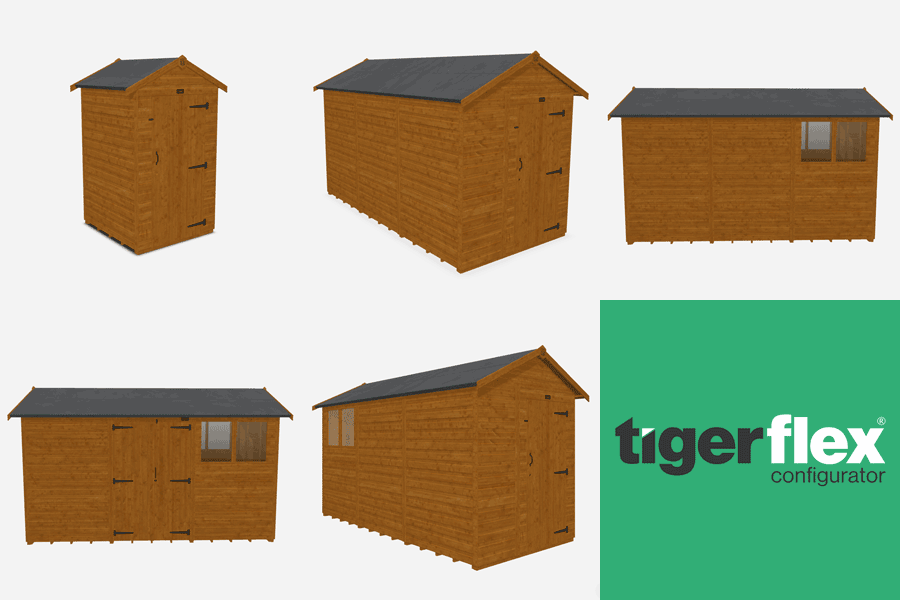
How to Insulate a Shed
Published: 22/04/2021

Insulating a shed is generally affordable. And it can also be very effective - provided you do it right. This should come as great news as you’re reading this post - it’s likely you can see the potential benefits of shed insulation, much like an increasing number of other people spending more time than ever in their garden buildings [1]. And you understand that an insulated garden building is much more than just a waterproof shed - again, that's why you're here. Well, you're in luck...
We answer your questions
Whether you want to build a warm garden office, you’re thinking about insulating a shed to live in, or you just want to feel warmer in your man cave shed or gym shed, you’re in the right place. You may even wish to store fragile equipment and keep it safe from extreme temperatures – whether cold in the winter or heat and humidity in the summer. From questions about the different types of shed insulation, to queries about how to insulate your shed floor, roof and walls, we aim to give you all the information you need to not only get started, but to do a proper job. We also provide options if you want to know how to insulate your shed cheaply. And if you want to know whether it’s worth insulating a pre-built shed before you start work – we’re here to help you decide. Note: In this post, we focus on how to insulate a wooden shed (as opposed to plastic or metal shed insulation). In addition, this post applies just as much to log cabin and summer house insulation as it does to sheds. So, let’s get started…
Is it worth insulating a shed? What to consider
Not all sheds – or garden buildings in general – are made equal. If you have an old shed that has seen better days and it’s suffering from leaks in the roof or shrunken/distorted window cavities, then we’d recommend buying a new shed before you even think about insulation. This should save you more time and money in the long run. Even if you buy a new shed, it may be wise to make sure you start with a good base. So, for example, a log cabin made from thick 28mm or 44mm logs and reinforced double glazing is going to be naturally better insulated than a standard tool shed. Thick framing is also important. Why? Because sheds with thicker frames are better able to carry the extra weight of the insulation; they’ll also be substantial enough to withstand the nails you hammer into them.
What is the best insulation for a shed?
Types of shed insulation include fibreglass roll, cellulose, expanded polystyrene or foam, breathable membranes, plywood board and more. Here’s a summary of the advantages and disadvantages of different types of insulation materials:
Bubble wrap
Bubble wrap is the least expensive and most basic type of shed insulation on this list. While there isn’t really an efficient way to insulate your shed for free, bubble wrap is one of the next best options if you’re on a tight budget. However, while using bubble wrap insulation is better than using none at all, it won’t be as effective as the other materials on this list when used in isolation. Despite this, it can be effective when used in conjunction with a harder material (such as OSB board).
Rockwool insulation
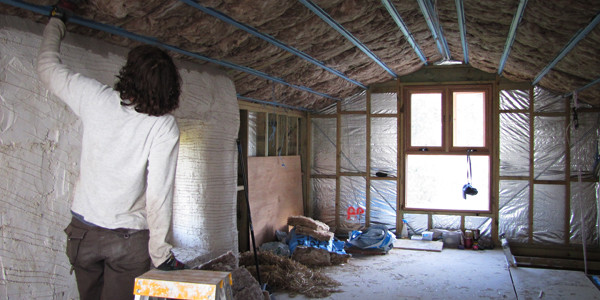
Rockwool (also known mineral wool) is made from volcanic rock (mostly basalt) and industrial slag. Its long fibres are compressed into dense mats before being cut into quilt-like batts for insulation. Rockwool is great for both heat and humidity control – meaning it could help protect your fragile or heat-sensitive possessions. Rockwool also an effective sound insulator and could prevent noise from getting both in and out. So this may be a good option if you want to avoid complaints from neighbours about your loud music, or if you’re looking for peace and quiet away from the noise of others!
PIR insulation boards (Celotex)

Polyisocyanurate (PIR) boards are a very popular type of rigid insulation - commonly known by the brand name Celotex. Made from rigid, closed-cell foam, PIR boards are primarily used on walls, roofs, and flooring. This is the insulation of choice for people in the building trade, so it’s readily available. Due to the prevalence of PIR insulation boards, insulating a shed with Celotex (and other brands of PIR) is easy - not least because you’re likely to find boards to fit your shed’s frame. But if not, they’re also simple enough to cut to size. PIR boards usually come foil-backed to add an extra thermal barrier and a vapour-control layer. It also usually comes in thicknesses of between 50mm and 150mm. Despite these advantages, you should also be aware PIR insulation boards are costlier than some of the other shed insulation options on this list.
PIR vs polystyrene shed insulation
There's some debate about whether PIR boards or expanded polystyrene insulation (EPS) is best. And that's a fair question; EPS is around 36% less expensive [2]. However, PIR boards have a higher R-value than EPS - meaning they have more resistance to heat flow and are therefore likely to insulate your shed more efficiently.
Breathable membranes
Breathable membranes (or breather membranes) are made to be water-resistant yet allow air in (making them air-permeable). Typically used in external walls and roofs, these membranes block moisture to reduce or eradicate damp, while their air permeability helps improve shed ventilation. For the reasons above, breathable membranes are a great choice for shed insulation.
Fibreglass roll
Fibreglass roll is often made from recycled glass – making it good for the environment. It's also simple to install – it’s a relatively quick-and-easy DIY job. Due to its structure, fibreglass is full of air pockets. Why is this important? Because this means it won’t shrink and will keep its form over time – making it a potentially cost-effective investment. Nevertheless, fibreglass insulation loses its ability to insulate when it becomes wet. It also contains tiny glass slivers, which can be harmful to the skin or lungs if inhaled. As a result, we’d recommend PIR insulation boards over fibreglass (for the most part).
Plasterboard
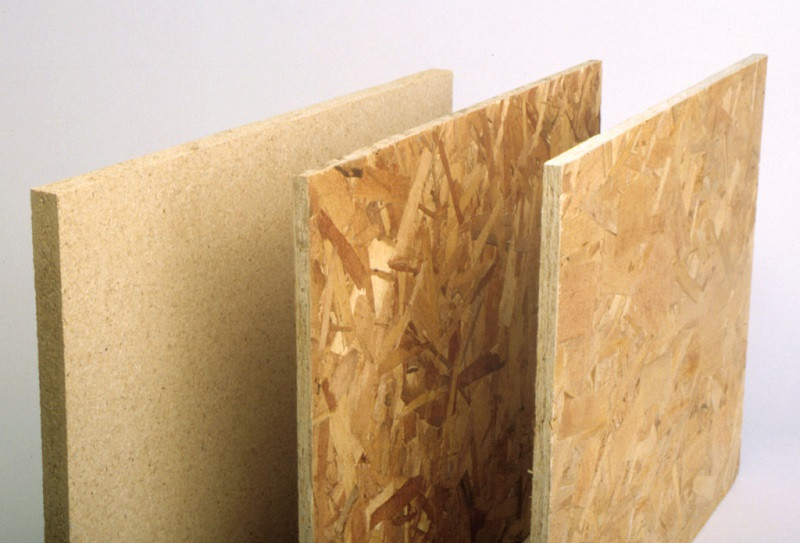
Plasterboard insulation is mostly used as an inexpensive way to increase the thermal performance of your shed walls without reducing too much of the internal space. You can fix to the walls with screws, nails or even glue. While inexpensive and practical, plasterboard adds a contemporary feel (much like plywood or OSB). If that’s what you want – great! But if you’re looking to insulate your traditional summerhouse, tongue and groove insulation would be a better option (more about this later). Plasterboard tends to be available in 8’x 4’ sheets.
Hardboard
Also widely available in 8’x 4’ sheets, hardboard is another inexpensive form of insulation that is more robust – and therefore longer lasting – than plasterboard. Yet plasterboard tends to be more water resistant.
Plywood or OSB
We’ve grouped plywood and OSB together here because they are similar both in terms of strength and their ability to insulate your shed. We don’t like sheds made from these materials – tongue-and-groove boards are longer lasting and more attractive, whereas OSB looks cheap as an outer material. However, when it comes to insulation on the inner wall, both plywood and OSB offer a tough surface that provides high-impact resistance and is therefore likely to last a long time.
Pallet board
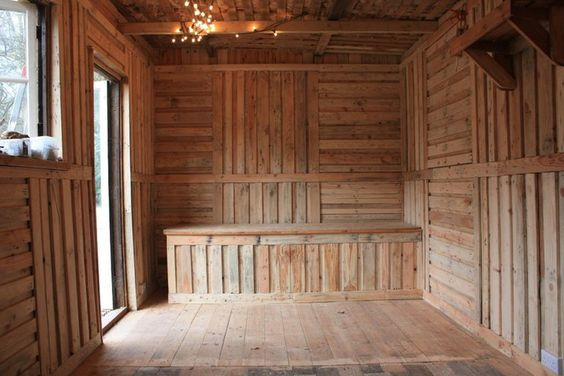
If you’re looking for inexpensive, yet visually appealing shed insulation – the rough, untreated look of reclaimed pallet board could be the answer. Reclaimed pallet boards are inexpensive and give you the nearest thing to free shed insulation. Be aware that some pallet boards come with nail holes, which could compromise their insulating properties. With this in mind, you may want to look for pallet boards without these holes.
Tongue and groove
Tongue-and-groove insulation is made from planks that fit tightly together – they can be fiddly (and time consuming) to install. That said, these boards look attractive and provide a good base to varnish or paint. Throughout this post, we’ve been talking about starting with a good base to minimise the amount of insulation you need. Therefore, buying a shed made from tongue-and-groove boards is arguably a better option than adding them later as insulation. Why? Firstly, as an insulation material, tongue-and-groove boards are very expensive. Second, a shed made from this excellent insulating material will automatically provide a better barrier against heat and could save you both time and money in the long run.
So which insulation is best?
To answer the question of what is the best insulation for a shed, this largely depends on what part of the shed you wish to insulate, what you want to use the shed for and your budget. It also depends on how well insulated your shed is when you buy it. We talk more about the best insulation for different parts of your shed below.
How to insulate a shed floor
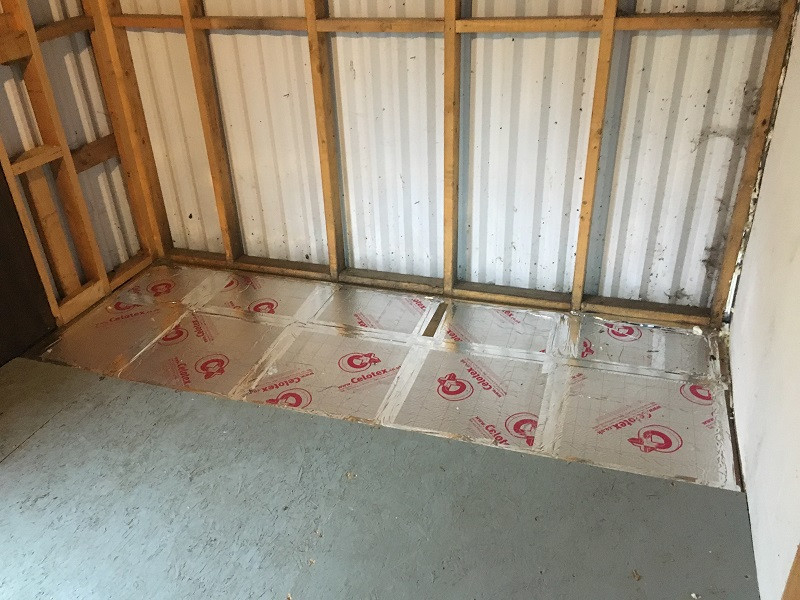
There are a few different ways to insulate a shed floor. We’re going to look at one type of shed floor insulation you could use if you haven’t laid the floor yet, and one you could use to insulate an existing shed.
Insulating a new shed floor (unlaid)
For new sheds, we recommend under-floor insulation, which could save as much as 40% of the heat that could otherwise be lost. Here’s how you do this: What you’ll need:
- Wood blocks (at least two for each joist cavity)
- A saw (handheld jigsaw or table saw)
- PIR insulation boards
- Tape measure
Here’s how to do it:
- Measure and cut the wooden blocks
- Place at least two wooden blocks under each joist cavity
- Measure and cut PIR foam boards to fit between the floor joists (if required)
- Make sure the insulation lays flush with the top of the joists
- Install the flooring
Of course, the above would also work if you have the time and inclination to remove the existing shed floor before you start the process. Laying underfloor insulation is one of the more expensive options, but it’s also one of the most effective.
How do you insulate an existing shed floor?
If you don’t want to remove your existing shed floor, you could install a “false floor” – this method is less expensive and less time-consuming than laying underfloor insulation. However, you should also know that a false floor removes some of the height within the shed. That said, it’s a popular option due to the relative ease and lack of expense. What you’ll need:
- A breathable membrane
- A thin layer of plywood or a roll of carpet
- A good-quality sealant (if you use plywood/OSB board)
- A tape measure
- Heavy-duty scissors
- A jigsaw
How to do it:
- Measure and cut the breathable membrane to fit
- Lay the breathable membrane over the floor
- Cover this with a thin layer of plywood or carpet
- If using plywood, fill in any gaps with the sealant
At this point, you’re probably wondering whether you should cover the breathable membrane with carpet or plywood. The method you choose depends on your budget and the time you wish to spend on this. Laying a roll of carpet would be cheaper than plywood and would certainly help you stay warmer than no insulation at all – it’s also quick. Yet plywood would help stabilise the floor and protect the insulation – if you can afford the extra time and cost, we’d recommend this version of the ‘false floor’ method.
Consider warm-floor integrated tiles
We now offer a warm floor tiles as an optional extra on our range of sheds. As we mention elsewhere in this post, it may be wise to start with a good base. And as these tiles are made from tough ethylene vinyl acetate (EVA), they’ll help insulate your floor against heat loss.
Shed wall and roof insulation
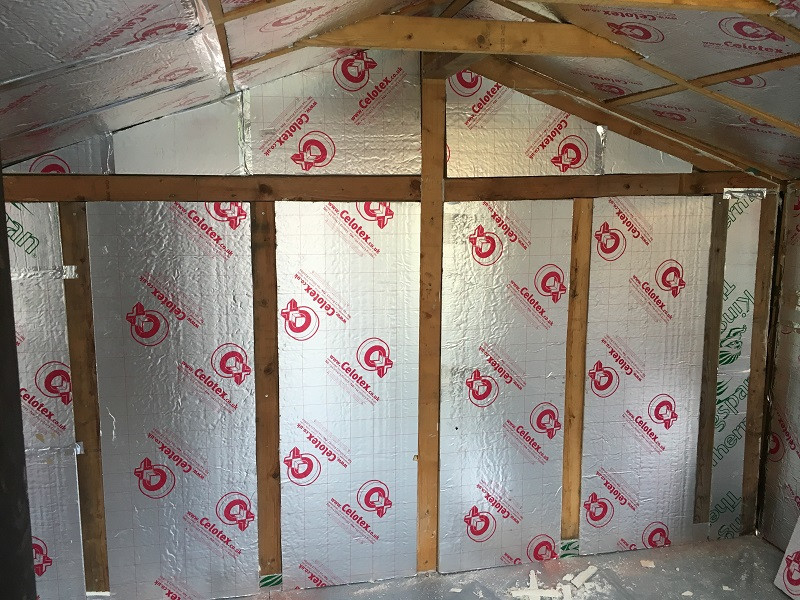
Shed wall and shed roof insulation are pretty similar, which is why we group them together here. But take into account that the best sheds come with roofing felt as standard, while shingles come as an optional extra that add an extra layer of heat protection. As we do in the previous section, we’re going to give you two ways to insulate your shed walls and roof – one inexpensive and one more expensive (but more effective). With all of this in mind, here’s how to further insulate your shed roof and walls:
Cheap shed insulation for the walls and roof
What you ‘ll need:
- Bubble wrap
- A staple gun
- A jigsaw
- A sheet of OSB board
- A tape measure
- Nail gun
How to do it:
- Measure the gap between the wall panels
- Measure and cut the bubble wrap to fit
- Be sure to overlap the bubble wrap strips to keep in heat
- Staple the bubble wrap to the shed walls
- Measure and cut the OSB board
- Place OSB board over each panel and nail it into place
The most effective way to insulate shed walls and the roof
What you’ll need:
- Fibreglass wool
- Breathable membrane
- OSB board
- Tape measure
- Jigsaw
- Staple gun
- Heavy-duty scissors
How to do it:
- Measure the wall/roof panels
- Cut the breathable membrane to size
- Staple breathable membrane between wall/roof panels
- Place the fibreglass on top of the membrane
- Measure and cut the OSB board to fit over each panel
- Place the OSB board over each panel
- Staple the OSB board into place
How much insulation do you need?
No matter what type of garden building you have, it would be wise to ensure it’s properly insulated. So, if your shed’s walls and roof are quite thin, you may need to insulate everything from the floor, to the walls, roof, doors and windows. In particular, it may be wise to focus on the places where heat is lost (roof) and where cold rises (the floor). The amount of insulation you need also depends on the size of your shed; a 20 x 20 log cabin will obviously need more than a smaller garden building.
Choose a good base to work with

Some garden buildings are built to be better insulated than others. For example, our log cabins come with thick 28mm or 44mm walls, so they’re better insulated than the average shed. Our sheds, log cabins and summer houses also come with roofing felt as standard which also helps the building stay warmer in winter and cooler in summer. Optional extras, such as roof shingles, provide an extra thermal barrier. So while these garden buildings will still need to be insulated, they’ll also need less work.
Watch our “How to Insulate a Shed” video for a cosy transformation! We'll guide you step-by-step, from selecting the right materials to installing insulation, making your shed snug and energy-efficient year-round.
References
[1] https://www.bbc.co.uk/news/business-55845735 [2] https://www.mybuilder.com/questions/v/14947/using-50mm-polystyrene-instead-of-50mm-celotex-for-extension


