How to Repair a Broken Shed Window
Published: 21/11/2018
You've found yourself in a bit of a pickle. Whether it's due to a football or a bad storm, your once beautiful Garden Shed is now ruined with an unsightly broken window. You're probably thinking, 'Do I now need a new shed? Should I arrange for a handyman to come and fix this?' Believe it or not, you can actually fix the window yourself! If you're looking for a stress free way to repair your shed window, then check out our simple step by step guide below!
What you will need
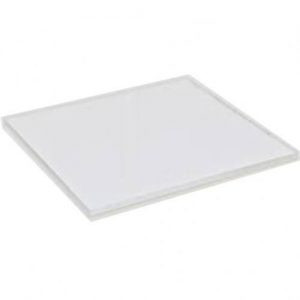
Replacement perspex.
Or glass.
Sealant, beading (optional) and panel pins.
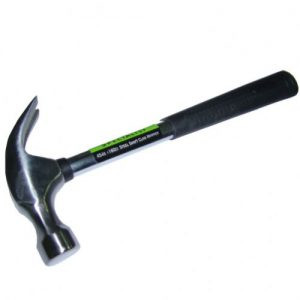
A hammer.
How to repair a broken shed window?
To repair your broken shed window you will need to remove the broken glass or perspex and fit in a new sheet. Depending on what fixtures you have in place, you will need to remove the pins or the beading carefully with the claw of a hammer before inserting the new sheet.
Step by Step Guide
Step one.
Cover your broken shed window as soon as possible. You could use a plastic bag or wooden board - whatever you prefer as long as it's covered and no water can get inside. You also need to order your replacement glass or perspex in the correct size. You can do this on the Tiger Sheds website in the Spares and Repairs section. 
Step two.
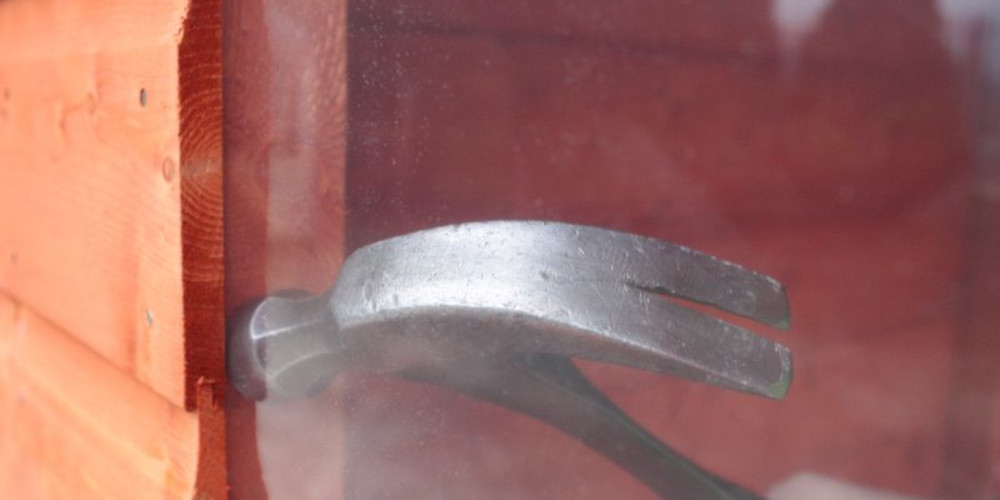
Once your perspex or glass has arrived it’s time to take out the old sheet and replace it with the new one. Depending on what fixtures you have currently holding the glass or perspex in place will depend on what you need to do to remove it. If you have beading then you will need to carefully prise it away using a claw hammer, taking extra care not to damage the shed framing around the window. If you’ve kept your glass or plastic in place with just panel pins then you will need to pull them out again using a claw hammer.
Step three.
Your damaged sheet of perspex or glass should now be easy to remove from the window frame once all the pins or beading have been removed.
Step four.
Time to fit in the new window! Place your new glass or perspex inside the frame and then using your hammer and panel pins, pin them into place all around the way around the framing.

Or, if you are beading your glass or plastic, then, from the inside, nail the beading in carefully all the way around your glass or plastic. 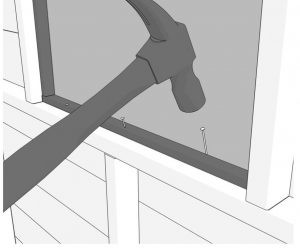
Step five.
Next you need to seal your windows. Use sealant around the edges of the window on the exterior of the building. Make sure that both the frame and glass or plastic is completely dry before you do this.
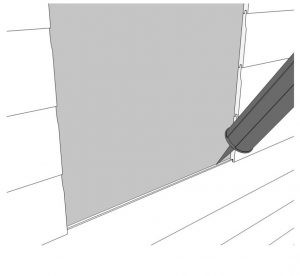
There are many options for sealing windows so it depends which suits you – silicone, mastic, putty, etc. Done - you now have a beautiful Garden Shed once again 
If you have any further questions regarding repairing your broken shed window then tweet us @TigerSheds.
*Please note that this is just for general guidance. If you feel uncomfortable carrying out this repair then we would strongly advise to ask an experienced person to carry this out.


