How to Soundproof a Shed
Published: 03/09/2021
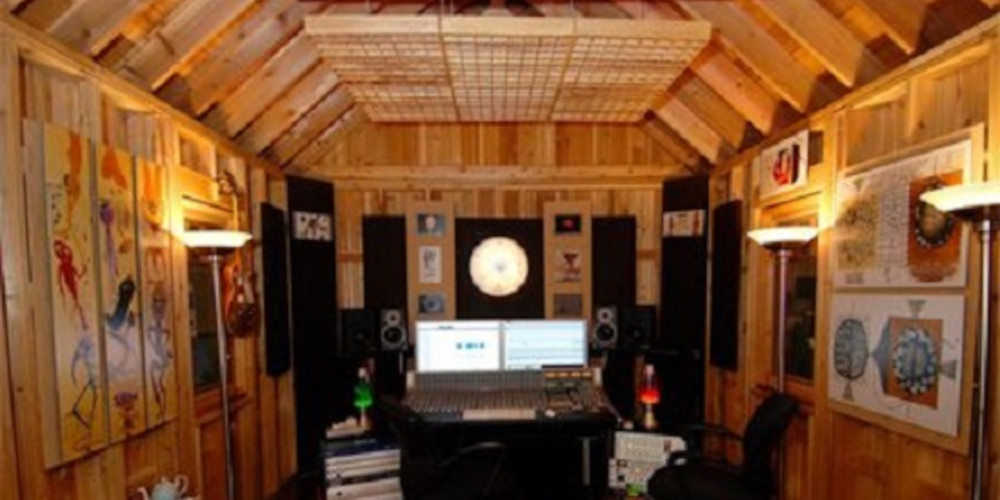
In our post on shed insulation, we go into great detail about insulating a shed to retain heat. But while thermal insulation can be a good way to soundproof a shed, this isn’t always the case. With this in mind, we’re writing this post to help you build the perfect soundproof shed (or adapt your existing building).
What would you like to achieve?

Do you want to know how to soundproof a shed for music to stop the neighbours complaining? Whether you like to play loud music through your hi-fi or you’re looking to soundproof your shed for drums, we’re here to help! Or if you’re looking to turn your garden building into a dedicated soundproof shed studio that doesn’t pick up outside noise during takes, you’re also in the right place. And just so you know, this guide applies just as much to creating a soundproof summer house or log cabin as it does to a soundproof shed. Note: The effectiveness of your shed soundproofing can depend on how much money you have to spend. If you’re on a low budget and you want a cheap way to soundproof a shed, some of the information on heat insulation in this post provides a good compromise. While the information in this post (the one you’re reading right now) doesn’t prompt you to break the bank, some of the tips are of a more specialist nature and may cost a little more. So, how do you reduce noise in a shed? Well, you’re about to find out. Here’s your step-by-step guide to creating a soundproof shed…
Ensure your shed is fit for purpose
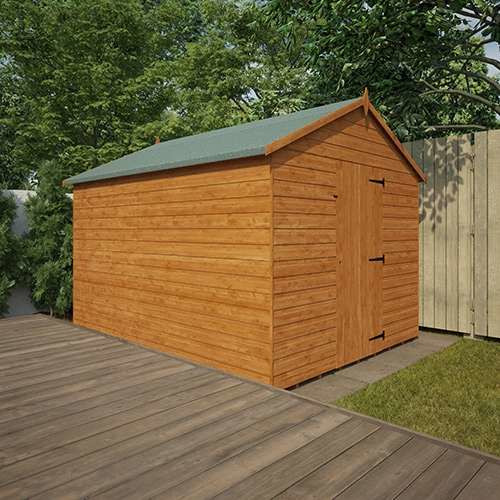
Windowless sheds may be the best option for soundproofing[/caption] As we say in other posts, undertaking work on your shed – whether you’re insulating for sound or heat – is a no-go if your shed has seen better days. For example, if you have an old shed with rotten wood, a sunken roof or distorted window cavities – save yourself the trouble of trying to soundproof it and buy a new shed. Trust us, it’ll be much more useful, enjoyable, and cost-effective in the long run. If you’re starting from scratch, any shed with shiplap cladding will do – the best examples use thick 12mm tongue and groove cladding. It’s also worth noting that most recording studios don’t have windows. This is because windows can allow noise to get in and escape. For this reason, it may be wise to choose a windowless shed. But if you must have windows, styrene provides better soundproofing than glass.
Prepare your tools and take measurements
Before you get started, you need to gather your tools and you MUST take measurements (we explain the need for measuring slightly further down).
Tools
To create your soundproof shed, you need the following tools:
- Tape measure
- Sealant gun
- Drill (with drill bits and screw bits)
- Plasterboard screws
- Dust mask
- Stanley knife
- Taping knife and drip tray
The importance of taking measurements
Before you start doing any soundproofing, you need to work how much space you have. This is because with all the soundproofing materials added in, a shed with eight feet by six feet of internal space (for example) will lose space as you add in the soundproofing materials. With this in mind, work out how much space you need to fit all your equipment, including cables, electrics, and sound equipment, and make sure you there’s enough space to be comfortable inside.
Soundproofing the walls
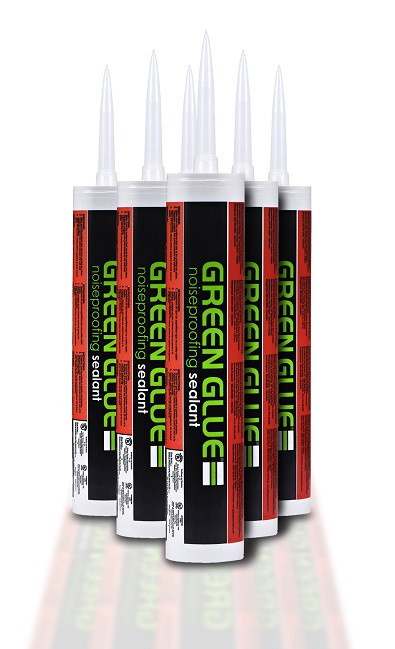
The walls are usually a major source of unwanted noise from both outside and inside your shed. To create a good acoustic environment, you must add mass to the walls [1], seal any gaps to prevent sound from escaping or getting inside, and absorb sound vibrations.
Here’s what you need:
- One sheet 16mm-thick plasterboard (to cover entire wall)
- One sheet 12.5mm-thick plywood (to cover entire wall)
- Acoustic sealant
- Acoustic foam (with one flat adhesive side)
Here’s how you do it:
- Measure, mark and cut the plasterboard and plywood to cover entire wall
- Screw the first plasterboard to the beams of each shed wall
- Use the sealant to fill any gaps in the screw holes
- Place the acoustic sealant on the drip tray
- Use your taping knife and cover the screwed-in plasterboard with acoustic sealant – but take care to cover it smoothly and evenly. Depending on the size of the wall, you may have to repeat this process multiple times.
- Press the plywood board to the plasterboard (that’s now screwed to the wall). High-grade acoustic sealant can take up to 48 hours to cure to the point where you can add extra weight, but it may take up to 30 days to reach its full sound-attenuating potential [2].
- Screw the plywood on to the plasterboard.
- After leaving the sealant to dry for 48 hours, add the acoustic foam. Peel off the paper from the adhesive and attach to the walls.
Soundproof your shed floor
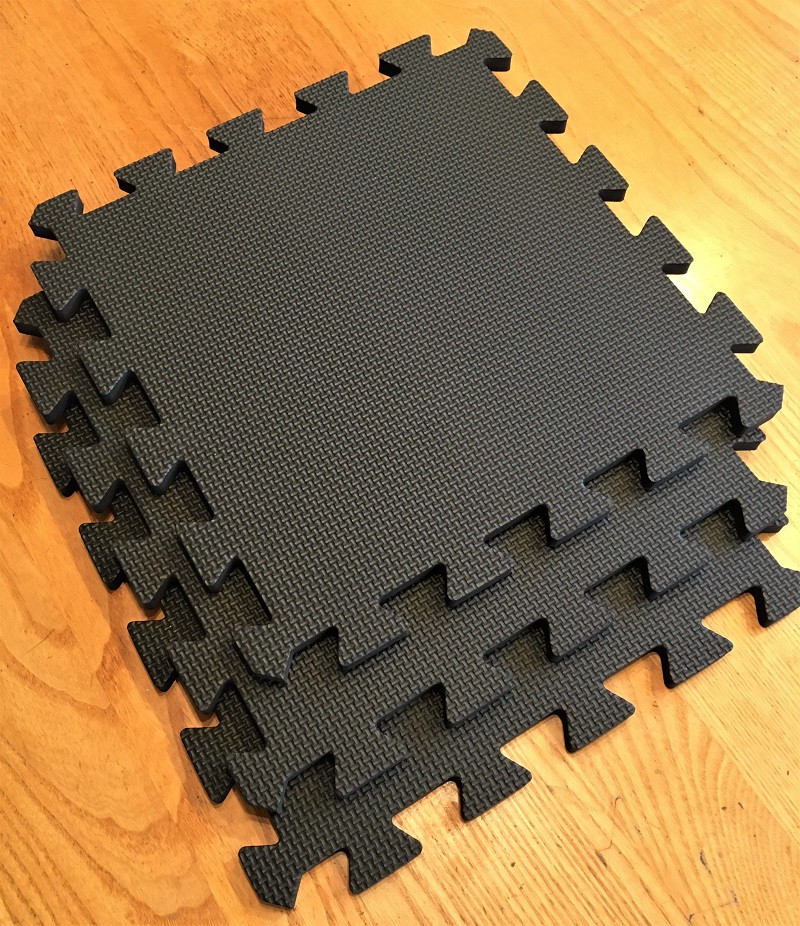
It’s important to soundproof your shed floor because the wooden floor makes it easy for sound to escape. Luckily, this is a pretty simple process… You just need the following items:
- Interlocking rubber gym mats
- A rug or carpet (optional)
- Acoustic sealant (if there are cracks in the floor)
Interlocking rubber mats cover any gaps in the floor. They’re also durable, so they’ll be able to withstand the weight of any heavy use for recording or playing music. Otherwise known as warm-floor tiles for their ability to insulate a shed floor (just what you need!). Some experts suggest using interlocking tiles OR a rug/carpet, but adding the extra fabric may help absorb sound more efficiently.
Here’s how you do it:
- Seal any cracks in the floor with the acoustic sealant.
- Lay the interlocking rubber tiles
- Lay down a rug over the top.
Stop sound escaping from (or getting in) your shed windows
If your shed has windows, this is the biggest concern when building a soundproofing. This is especially true in older sheds that come with a thin pane of glass. Why? Because they let in noise – which is no good whether you want to record quiet parts in a song or you just want to drown out noisy neighbours!
Here’s how to fix it:
- Check and/or replace the seals
If your shed window has a thin pane of glass, check the rubber seals. If they’re in good condition, that’s great. If not, replace them. Next, use your acoustic sealant to close any gaps in the window cavities.
- Consider fitting an extra acrylic sheet
To create extra sound insulation, you may also wish to fit an acrylic sheet on top of the existing pane. But be careful – this could void your warranty. Check the manufacturer’s terms and conditions so you know where you stand before undertaking this work.
Seal your doors for sound

Along with the windows, the doors of your shed are another soundproofing weak spot.
Here’s how to prevent sound leakage from your doors:
- Fit rubber seals
As in the case of your windows, ensure there are rubber seals wherever the door meets the doorframe. If there are any seals missing – or the existing ones are in poor condition – replace them. Assuming your shed doors are hung properly and fit well, it won’t take too long to soundproof them.
- Seal the cracks
Look for cracks around the frame. And if you find any, close them up with your acoustic sealant.
Soundproof your shed roof
When it comes to soundproofing a shed, the roof has similar requirements to the walls. However, because plasterboard is heavy, it may be wise to use a single sheet of plywood for each section of the roof.
Here’s what you need to soundproof your roof:
- 16mm thick plywood sheet(s) to cover each roof section
- 12.5mm thick plywood sheet(s) to cover each roof section
- Acoustic sealant
- Acoustic foam
Here’s how to do it:
- Measure, mark and cut the two separate layers of plywood to cover the whole ceiling.
- Press the 16mm plywood sheet(s) to the ceiling and screw it in at the beams and about halfway along each side along both the length and width. The number of panels you'll need depends on the size of your roof, but the material should cover the whole roof.
- Use the acoustic sealant to cover any gaps around the screw holes.
- Spread acoustic sealant on your drip tray.
- Use your taping knife to spread the acoustic sealant over the 16mm plywood board (now attached to ceiling).
- Press the 12.5mm plywood sheet against the first layer and screw in.
- Leave the sealant to dry for 48 hours.
- Peel of the back of the acoustic foam and attach it to the roof.
Is soundproof really soundproof?
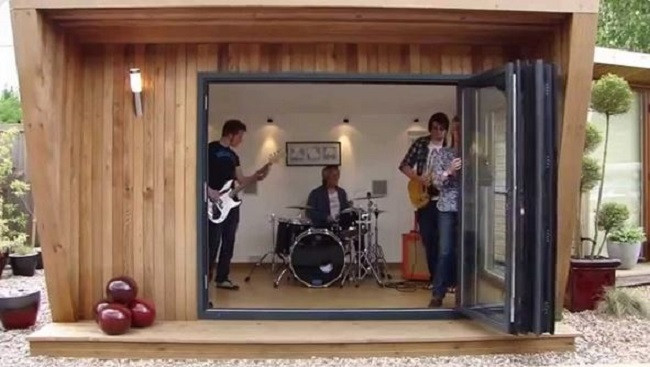
As you're asking this question, you've probably come across some ineffective soundproofing in the past. Perhaps you or a friend attached some egg boxes to the inside of a garage to stop the noise from your band rehearsal from annoying your parents in the past. But while you may have heard that egg boxes can soundproof your shed, they really can't. While egg boxes CAN reduce the echo inside the shed by diffusing soundwaves, they do not stop sound escaping. By contrast, the materials described in this article are a much better fix for your soundproof shed.
So now you know how to create a soundproof garden room, what building will you choose to make all that sweet music?
To find out, go to Tigersheds.com.
References
[1] https://www.explainthatstuff.com/soundproofing.html [2] https://bettersoundproofing.com/best-acoustical-sealant/


