Shed to a Workshop in 4 Simple Steps
Published: 10/07/2017

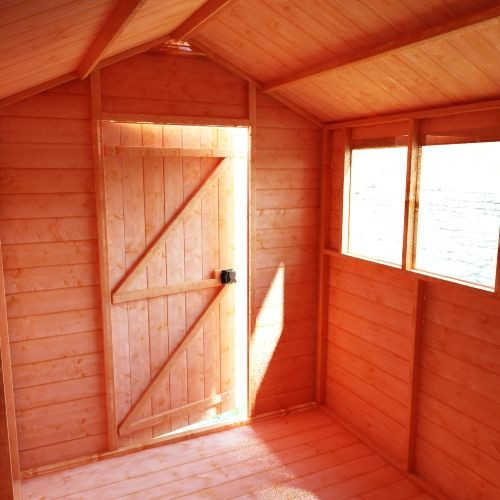
Have you ever wanted your very own workshop at home for those D.I.Y projects, fixing the bikes or just the extra storage? Well we have put together these 4 simple tips to help you achieve the right workshop for you!
Workbench
Every workshop needs a workbench or station; a dedicated space to work from. Build your workstation to last with a solid, sturdy structure. You can make a workbench from table legs and a piece of kitchen worktop knowing that it'll be hard-wearing. There are many workbenches available but can be quite expensive, so if you have a budget make sure you do your research first.
Storage
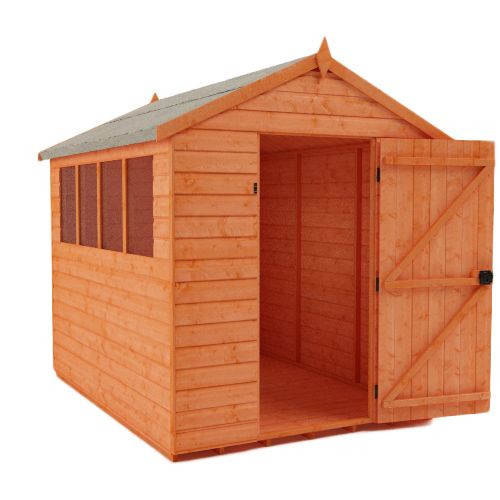
Working out the best storage configurations is essential; if you are working with an Apex Shed, you can create a wall of storage at one end of the wall or even use under the workbench, to be able to maximise every inch of space. We recommend you think about how you will use the space, then deciding how the layout could look will be easier. 

Lighting
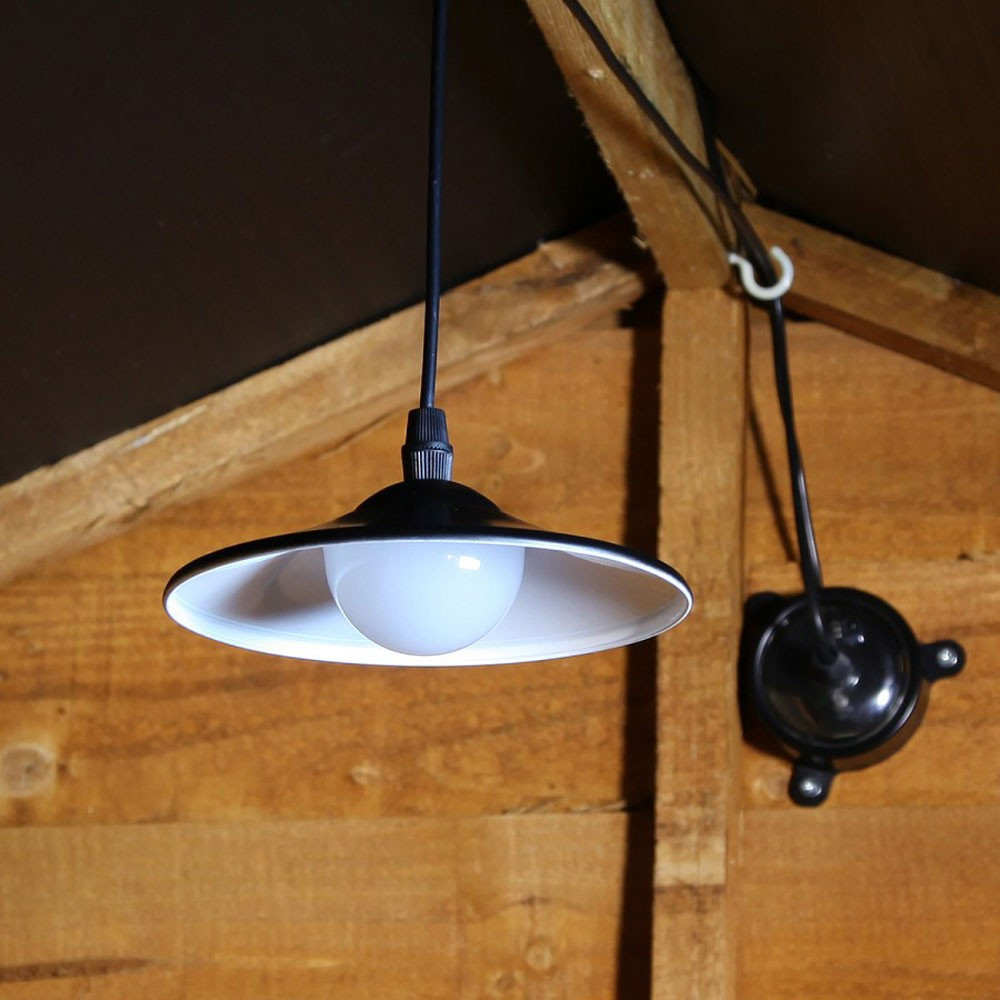
A shed with windows will have lots of natural lighting through the day. However come Autumn/Winter time when the days become shorter, you will need adequate lighting. A single pendant bulb would be enough to light an 8x6 Shed and make sure it’s well lit for you. Alternatively you could use a solar powered light like this one from PowerBee which is eco-friendly and stylish too. 
Power
Having a source of power is essential if you want to listen to the radio or charge power tools; a double socket would be suffice and work perfectly. If you are charging power tools make sure your outlets are the correct voltage for the supply. Safely tack down all wires to avoid any trip hazards. Another thing to remember is that you should never overload sockets, especially when charging power tools. We would love to see your shed to workshop conversions! Join us on Facebook, Instagram or Twitter by tagging #TigerSheds in your pictures.


