The Complete Guide to Pre-Built Sheds
Published: 10/12/2022
In this article we'll look at some of the different types of garden sheds you can quickly and easily build in your outdoor space, and the benefits to having pre-built sheds delivered to your home.
What is a Pre-built Shed?
A pre-built shed has been expertly designed and manufactured ready for sale. These sheds are mostly delivered flat packed to customers ready for DIY installation.
Tiger self-assembly sheds come with clear instructions and have all the panels and fixings you need to build your garden building, so this type of shed may be cheaper in the long term, especially if you have little or no experience in the construction industry and you don’t have the correct tools for the job.
Thanks to modular shed designs you can buy pre-built sheds whose sections can be easily assembled after you take delivery, meaning you can start using your shed on the day you receive it.
Buying a Pre-built Shed vs Build Your Own – let’s go shed to shed…
Building a shed from scratch is no easy task! To source all the wood and tools you need to build your own shed will take a lot of time and planning and so buying a pre-built shed is often an easier and less stressful way…
SAVE EFFORT
Putting your shed together yourself can be a labour of love, but pre-built sheds can be erected in a couple of hours (not weeks!)
SAVE MONEY
Buying timber and parts yourself can save a few pounds and pence, but you need to make sure the wood quality is up to the mark. Pre-built sheds are usually 12mm or thicker, from sustainably sourced forests. The mix of timber in Tiger buildings is sustainably sourced and slow grown.
SAVE HASSLE
It can be quite stressful when you’re building from scratch. It relies on a certain level of knowledge and experience. Pre-built sheds come with ready-made and easy to follow instructions, and often video guides, plus a helpful support team and a material guarantee (often many years, like Tiger Sheds 20 year guarantee).
SAVE TIME
Many pre-built sheds can be delivered quickly - TigerFlex® sheds for example are available nationwide on a pick a day delivery service.
SAVE MISTAKES
Building from scratch means you’re in control but costly design mistakes, miscalculations and wrong measurements can sometimes happen. But the new ranges of pre-built sheds like TigerFlex® are so modular that you can arrange, or swap panels around to suit your taste. And you can make bespoke changes on other Tiger garden buildings to have them pre-built to your own design.
Different types of Pre-built Sheds
Pre-built sheds come in a wide variety of different shapes and sizes, and it's important to have a sense of how the shed you order will look once it has been assembled.
The style of the roof on your pre-built shed is an important consideration, and the shape and design of a shed's roof is a good way to distinguish different types of assembled storage sheds.
Apex sheds are among the most popular pre-built sheds in the UK, offering a stylish look and a functional use of space, with increased headroom down the pitched centre of the shed's interior where the roofs point is at its highest.

Tiger Shiplap Apex Shed | Wooden Shiplap Sheds | Tiger Sheds
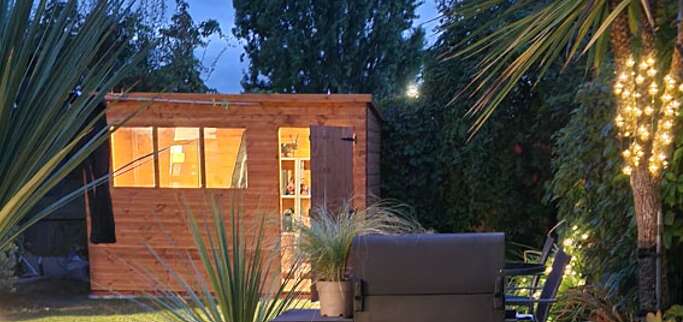
Pent sheds offer a contemporary look, with their sleek modern roof designs that slope from a high point at one side of the shed to a lower point at the other. A pent roof allows water to flow freely away from the shed, and by adding guttering you can divert water into a water butt – always handy for your garden.
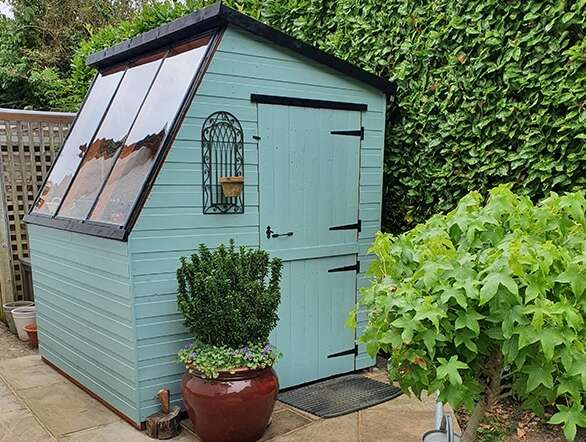
Tiger Potting Sheds | Garden Potting Shed | Tiger Sheds
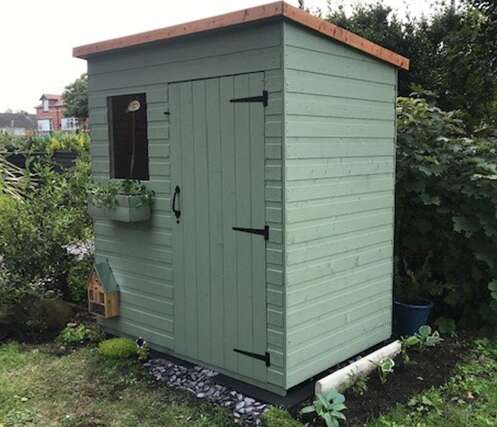
Pent Sheds | Garden Pent Sheds | Tiger Sheds
Known as gambrel, mansard, or Dutch roofed sheds, barn-style sheds have a traditional barn roof. This style offers maximum headroom and ample storage space, as well as a truly distinctive aesthetic.
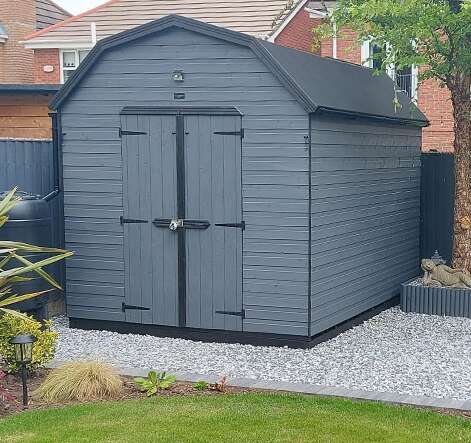
Garden Barns | Mini Dutch Barn Shed | Tiger Sheds
In the case of all these styles of shed, you can expect smaller shed assembly to be done within a few hours. Garden shed assembly is remarkably easy these days and follows a series of straightforward steps.
How to Build an Apex Garden Shed
Step 1 - Floor Panel Installation onto Shed Base Unit
This is the most essential part of the build! Click on the link to see a great guide on how to build a firm and level shed base.
Once you have made a secure base you can then lay down your floor bearers and place the floor panel(s) on top in the correct position. Make sure your floor base is level before proceeding to step 2.

Step 2 & 3 - Side Panel Installation
In this step you need to position and secure the gables and side panels onto the floor panel(s). Once you have all the panels in place and you are confident that the sides are sitting square you can then secure them to the floor.

Top Tip: We usually recommend two people when assembling a shed to make it quicker. easier and safer job.
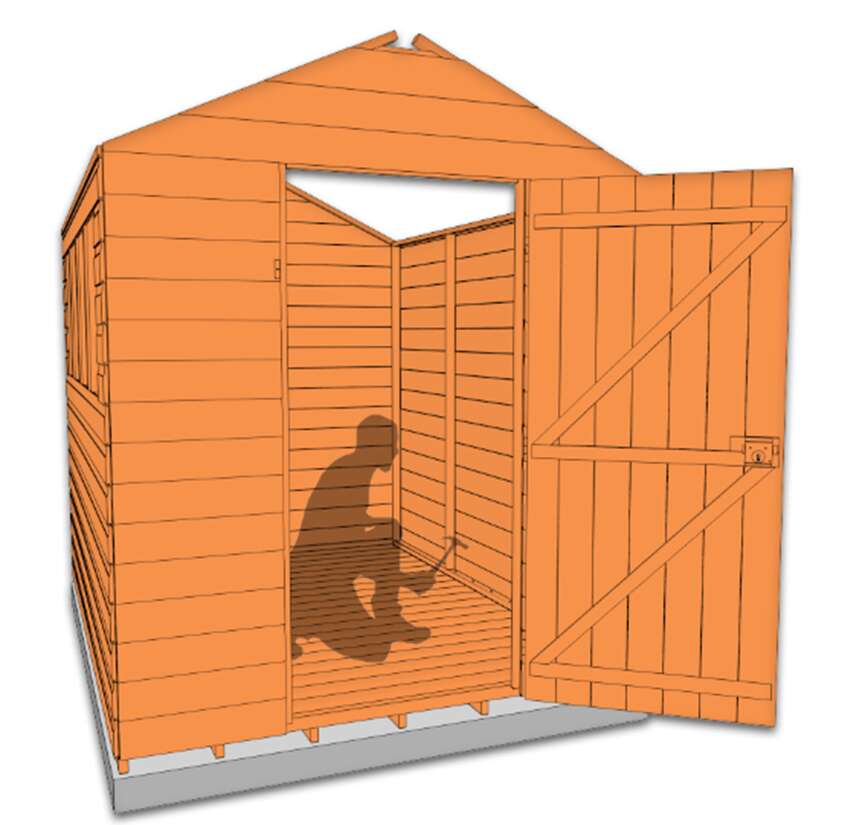
Step 4 - Roof Gable Top Installation
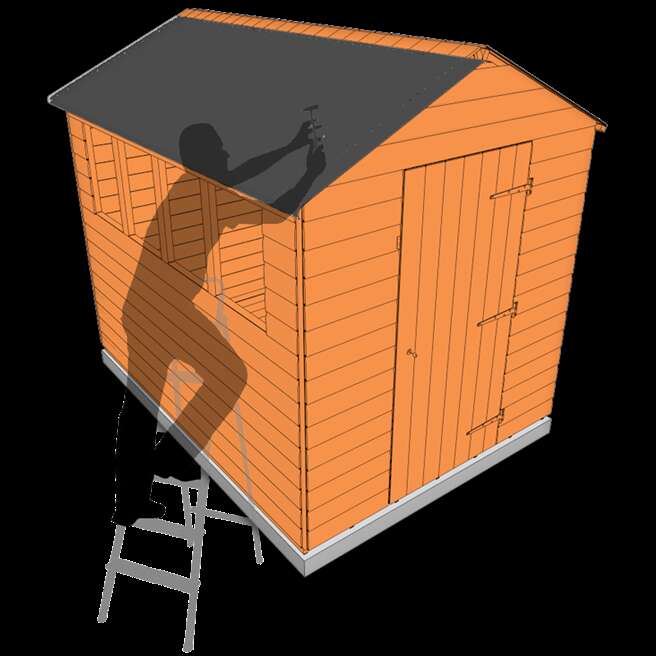
It is now time to place the roof panels in position and secure these internally to each other. You may need a second pair of hands to pull the roof panels together at the apex before you nail them together. Once you have nailed the roof panels at the apex, you can then nail the roof to the gables and side frame.

| Top Tip: Make sure your ladder is well supported and do not overstretch yourself. |
Step 5 - Roof Lining InstallationNow you can felt the roof. Cut the felt if necessary and roll along the lower section on one side of the roof. Allow a bit of overhang to fold down onto the roof framing (but not the underside of the roof). Once you’re happy with the position of your roof lining, tack along the edit of the felt. Repeat this process on the other side of the roof.
|
Step 6 - Barge Board & Finial Installation
It is now time to secure the barge boards to the roof panels. Generally, you will find that barge boards are slightly longer than the shed roof panels, so it is your preference if you wish to cut these down to be flush with the edge of your roof.
Make sure you trap the overhanging edge of roof felt in between to ensure a weatherproof seal. When you’re happy with the position of the barge boards hammer them in place. Finally, you can secure the finial to the bargeboard.

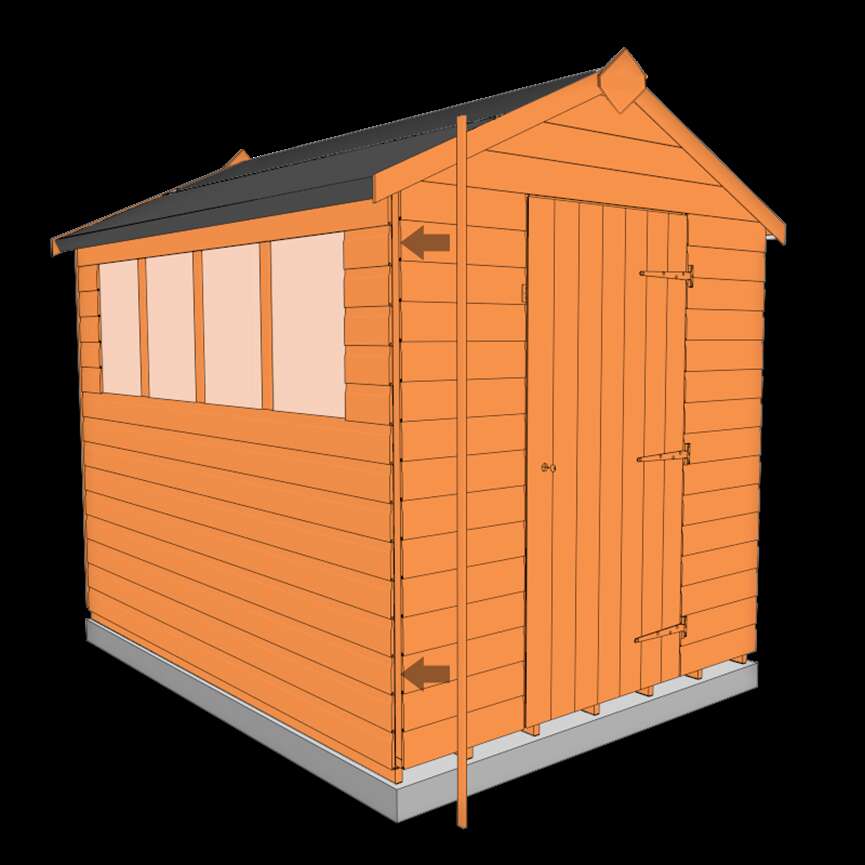
Step 7 – Corner Strip Installation
You’re nearly there with your shed build! Tidy up the outside corners of your shed with the corner strips. They may need cutting down to fit.
Step 8 – Fit & Seal Windows
To finish off your shed assembly pop in your windows. You will need to slot the glass or Styrene into position and gently tap pins into the window frame to avoid scratching the panes.
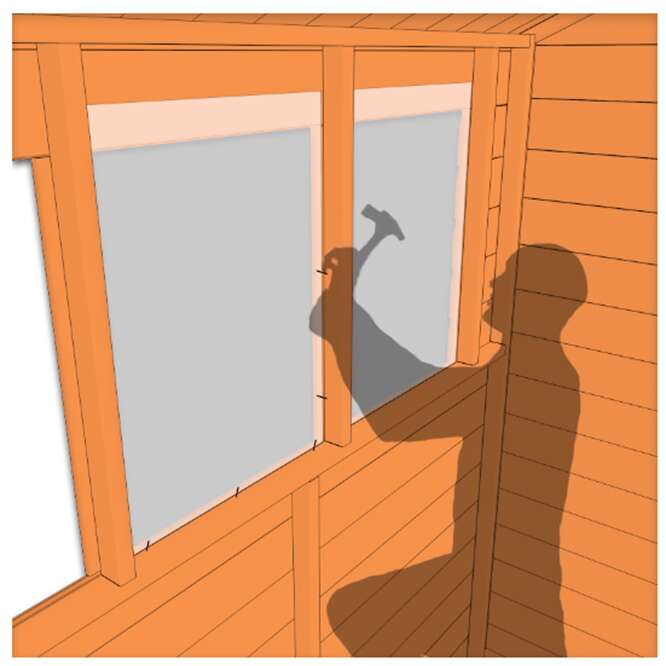
Top tip! Keep the protective film on the window panes until they have been fitted in place. This will stop any scratching. Another tip is to use a thin piece of cardboard to stop the hammer coming into direct contact with the panes. Don’t forget to remove the protective film from the panes after they are fitted.
Once the window panes are fitted in place you will need to seal them in order to make the interior of your shed dry and weatherproof. You can use a suitable sealant of your choice such as silicone, mastic or putty.
A final step some people choose to do is to add window beading to reinforce the window panes. Click here for a complete guide on ‘How to Fit and Seal Shed Windows’
Benefits of TigerFlex® Sheds
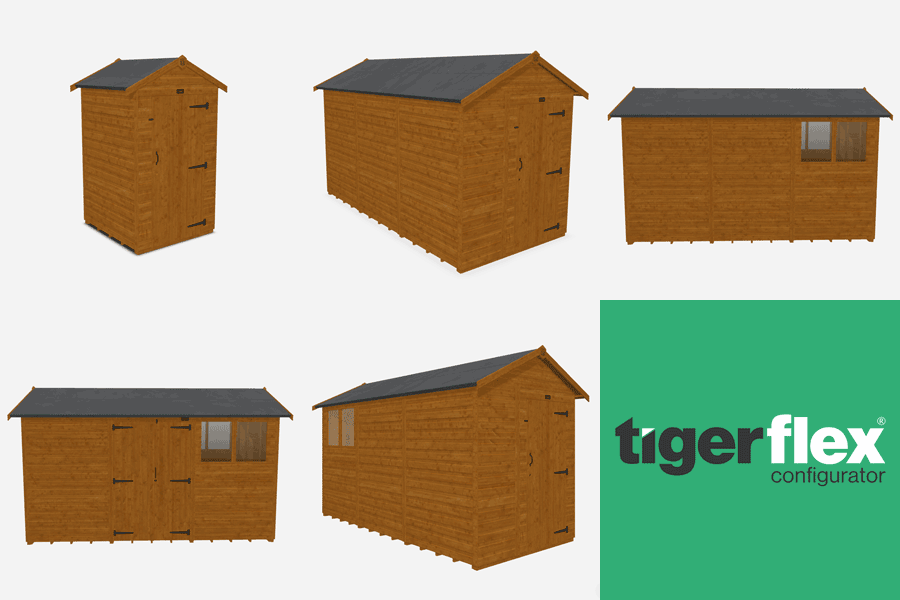
TıgerFlex® is a unique and versatile range of pre-built modular sheds where you can choose from various arrangements and configurations to make sure that the shed's layout meets your exact needs.
When ordering a TıgerFlex® shed, such as the TigerFlex Shiplap Apex Shed, you are in control of the design layout and get to choose where you want to put your walls, windows and doors. Do you want a single or double door, left or right hinged? It’s easy to see why the best-selling TıgerFlex® shed range is so popular!
TıgerFlex® Shed Configuration Examples


Photo: TigerFlex Apex Shed
Because the panels are slightly smaller, they are easier to handle and mean you can arrange your shed to suit your space, so you get the best natural light, and you can enjoy the best views. It’s almost like you’ve designed it yourself!


